How To Properly Install A Ridge Cap On Roof
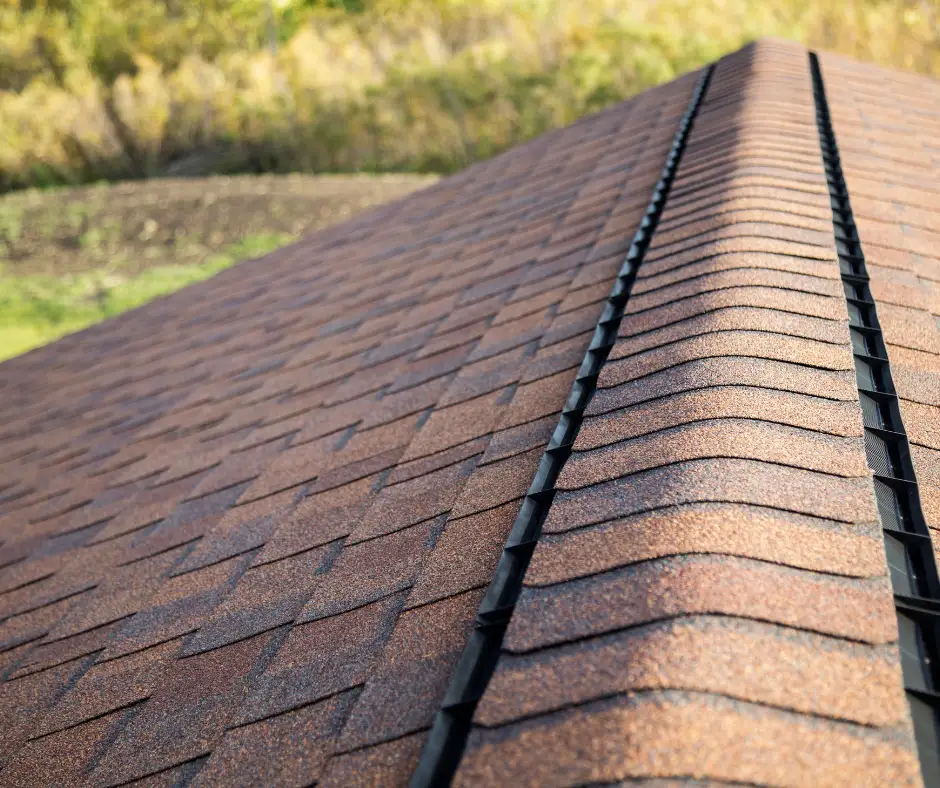
A ridge cap is a crucial component of your roof’s defense system. It safeguards your home from wind, rain, and other harsh weather conditions. By installing a ridge cap on roof correctly, you can significantly extend your roof’s lifespan and save yourself from costly repairs down the line.
But don’t worry – with the right tools and know-how, you can install a ridge cap like a pro.
This guide will walk you through the process step-by-step, helping you avoid common mistakes and ensure your roof stays watertight for years.
Whether you’re a DIY enthusiast or just looking to understand the process better, you’ll find valuable tips to make your ridge cap installation successful.
Let’s get started on upgrading your roof and boosting your home’s protection!
Understanding the Importance of Proper Ridge Cap Installation
Protecting Your Winnipeg Home from the Elements
As a Winnipeg homeowner, you’ve experienced firsthand the brutal Manitoba winters. A properly installed ridge cap is essential to safeguard your home from the relentless elements.
The roof ridge cap is the finishing touch that seals the peak of your roof, preventing water, snow, and pesky critters from getting inside. When you learn how to install a ridge cap on the roof correctly, you’re safeguarding your home against potential leaks and structural damage.
Enhancing Your Roof’s Appearance and Longevity
Beyond protection, a well-installed ridge cap can boost your home’s curb appeal. It gives your roof a clean, finished look that stands out in the neighborhood.
More importantly, knowing how to install ridge cap on roof properly extends the life of your entire roofing system. It prevents premature wear and tear, saving you money on repairs down the road.
Energy Efficiency and Ventilation Benefits
Did you know that a correctly installed ridge cap can improve your home’s energy efficiency? It plays a key role in proper attic ventilation, helping to regulate temperature and moisture levels. This can lead to lower heating and cooling costs – a big plus during Winnipeg’s extreme seasons.
By mastering how to install a ridge cap on roof, you’re not just protecting your home; you’re making it more comfortable and efficient too.
Choosing the Right Ridge Cap for Your Winnipeg Roof
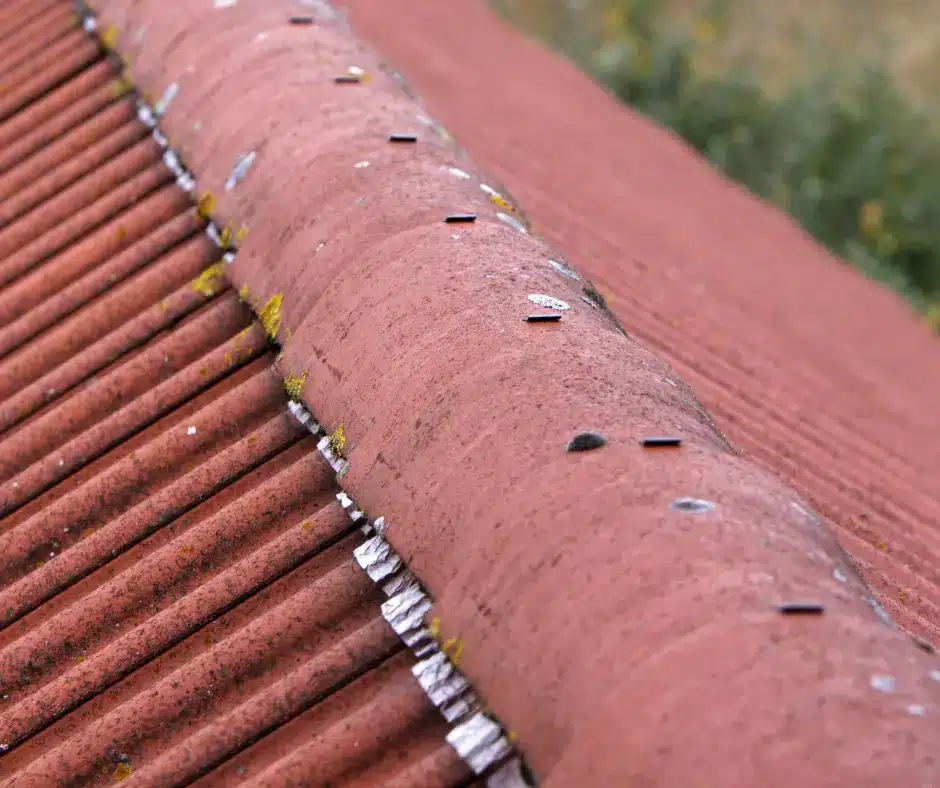
When it comes to installing a ridge cap on your roof in Winnipeg, selecting the right materials is crucial. The harsh Manitoba winters demand durable, weather-resistant options that can withstand heavy snow and ice.
Consider Your Roofing Material
Your ridge cap should match or complement your existing roof. For asphalt shingles, which are common in Winnipeg, choose ridge caps made from the same material. Metal roofs require specialized metal ridge caps that can expand and contract with temperature changes.
Weather Resistance is Key
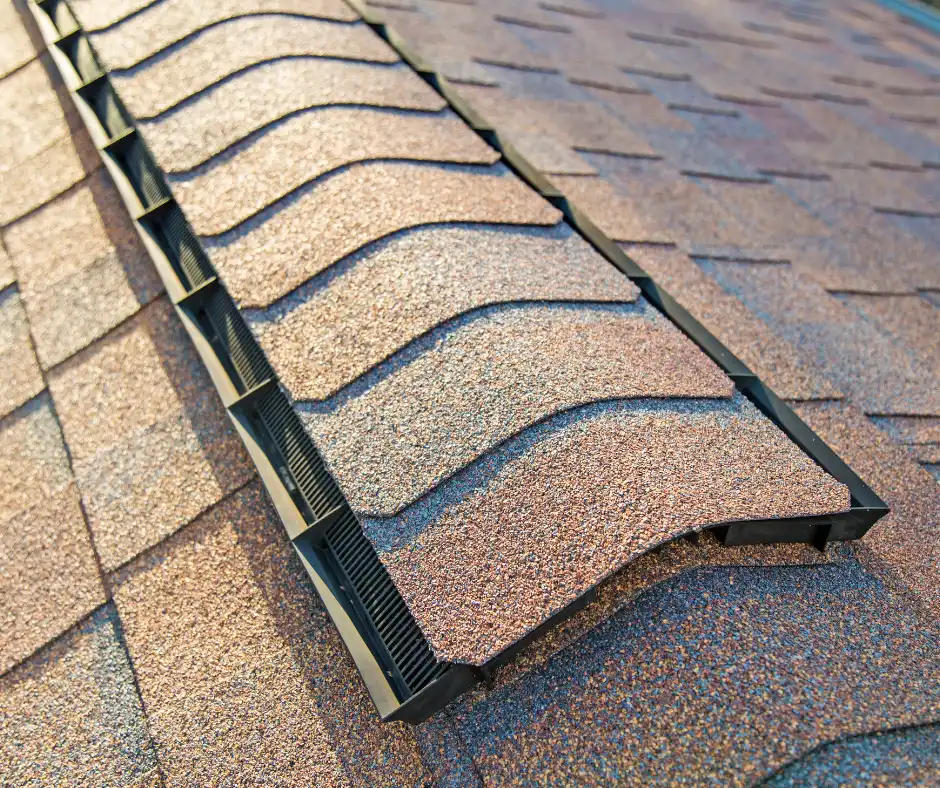
Look for ridge caps designed to resist high winds and moisture. In Winnipeg’s climate, this is essential to prevent leaks and damage. Some ridge caps come with built-in ventilation, which can help regulate attic temperature and moisture levels.
Professional Installation Matters
While learning how to install a ridge cap on roof can be a DIY project, Winnipeg’s extreme weather conditions make professional installation a wise choice. Companies like All Weather Exteriors have the expertise to ensure your ridge cap is installed correctly, maximizing its lifespan and effectiveness.
Remember, a properly installed ridge cap not only enhances your roof’s appearance but also plays a crucial role in protecting your home. Choose wisely today.
Step-by-Step Guide to Installing a Ridge Cap on Your Roof
Installing a ridge cap on roof is a crucial step in protecting your Winnipeg home from the harsh Manitoba weather. Here’s how to install a ridge cap on roof properly:
Prepare Your Materials
Before you begin, gather all the necessary materials. You’ll need ridge cap shingles, roofing nails, and a hammer or nail gun. Don’t forget your safety gear – sturdy shoes, gloves, and a safety harness are essential when working on your roof.
Measure and Cut
Measure the length of your roof’s ridge and cut your ridge cap shingles accordingly. Remember, it’s better to have a little extra than to come up short.
Start at the Edge
Begin installing your ridge cap at the edge of your roof that faces away from prevailing winds. This helps prevent water from being driven under the cap during Winnipeg’s notorious storms.
Nail It Down
As you learn how to install ridge cap on roof, remember that proper nailing is key. Place nails about an inch from the edge of each shingle and 6 inches from the exposed end. This ensures a secure fit that can withstand Manitoba’s intense weather conditions.
Overlap for Protection
Overlap each ridge cap shingle by about 5 inches. This creates a water-tight seal that’s crucial for protecting your Winnipeg home from rain and melting snow.
By following these steps on how to install a ridge cap on roof, you’ll ensure your home stays dry and protected year-round. For expert assistance, consider reaching out to All Weather Exteriors, Winnipeg’s premier roofing company.
Troubleshooting Common Ridge Cap Installation Issues
Dealing with Improper Alignment
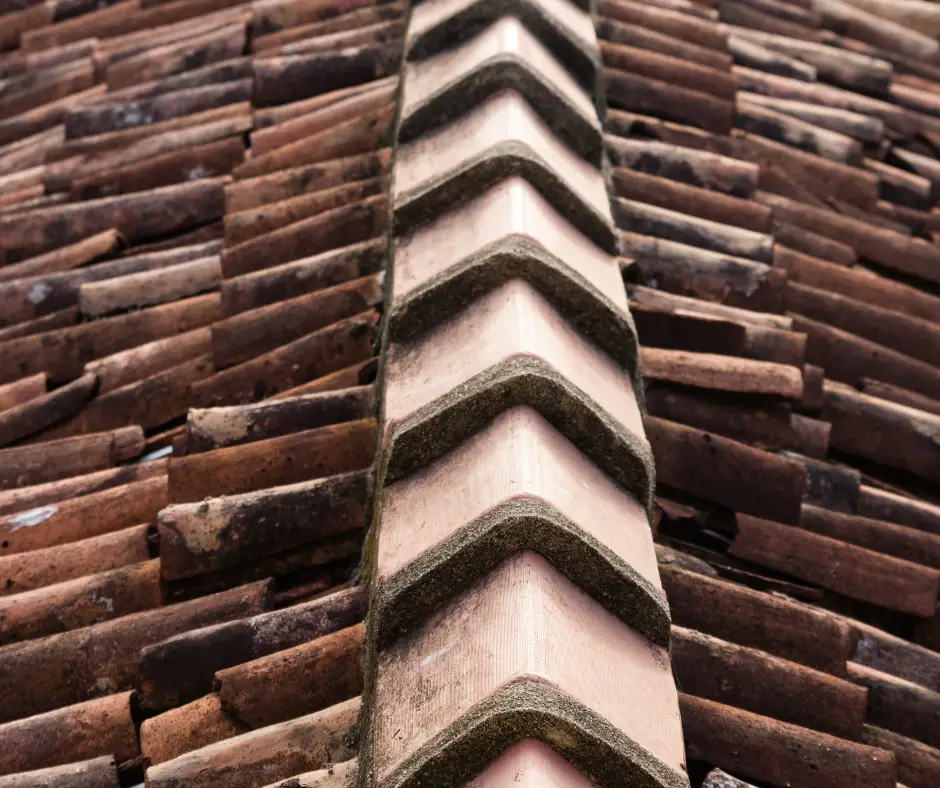
When learning how to install a ridge cap on roof, proper alignment is crucial. If you notice gaps or an uneven appearance after installation, you may need to adjust the cap’s position. Carefully remove any nails and realign the cap, ensuring it’s centered over the roof’s peak. This step is essential for both aesthetics and functionality.
Addressing Leaks and Water Infiltration
One of the most common issues Winnipeg homeowners face is water seepage around the ridge cap. To fix this, inspect the area for any missing or damaged architectural shingles near the cap. Replace these as needed. Additionally, apply a high-quality roofing sealant along the edges of the ridge cap to create a watertight barrier against Manitoba’s harsh weather.
Handling Wind Damage
Strong prairie winds can sometimes lift or damage a newly installed ridge cap on roof. If you notice any loose sections, secure them immediately with roofing nails. For added protection, consider using a wind-resistant adhesive designed specifically for ridge caps. This extra step can save you from costly repairs down the line.
Preventing Ice Dam Build Up
In Winnipeg’s cold climate, ice dams can form along the roof’s edge, potentially affecting your ridge cap. Ensure proper attic insulation and ventilation to minimize this risk. If ice dams do occur, avail a professional snow removal to avoid damaging your ridge cap or shingles.
Maintaining Your Newly Installed Ridge Cap on Roof for Long-Lasting Protection
Now that you’ve learned how to install a ridge cap on roof, it’s crucial to maintain it properly. A well-maintained ridge cap will protect your Winnipeg home from harsh weather for years to come.
Regular Inspections
Make it a habit to inspect your ridge cap at least twice a year, especially after severe storms. Look for:
- Loose or missing shingles
- Cracks or gaps in the sealant
- Signs of rust on metal components
Cleaning and Debris Removal
Keep your ridge cap clean to prevent moisture buildup:
- Gently sweep away leaves and debris
- Use a garden hose to rinse off dirt
- Avoid using pressure washers, which can damage the shingles
Prompt Repairs
If you notice any issues during your inspections, don’t delay repairs. Small problems can quickly escalate, compromising your roof’s integrity. For complex repairs, trust the experts at All Weather Exteriors to maintain your ridge cap on roof.
Professional Maintenance
Consider scheduling annual maintenance with a professional roofing contractor. They can spot potential issues early and ensure your ridge cap remains in top condition, protecting your Winnipeg home from our extreme weather.
By following these tips, you’ll extend the life of your newly installed ridge cap and keep your roof in excellent shape for years to come.
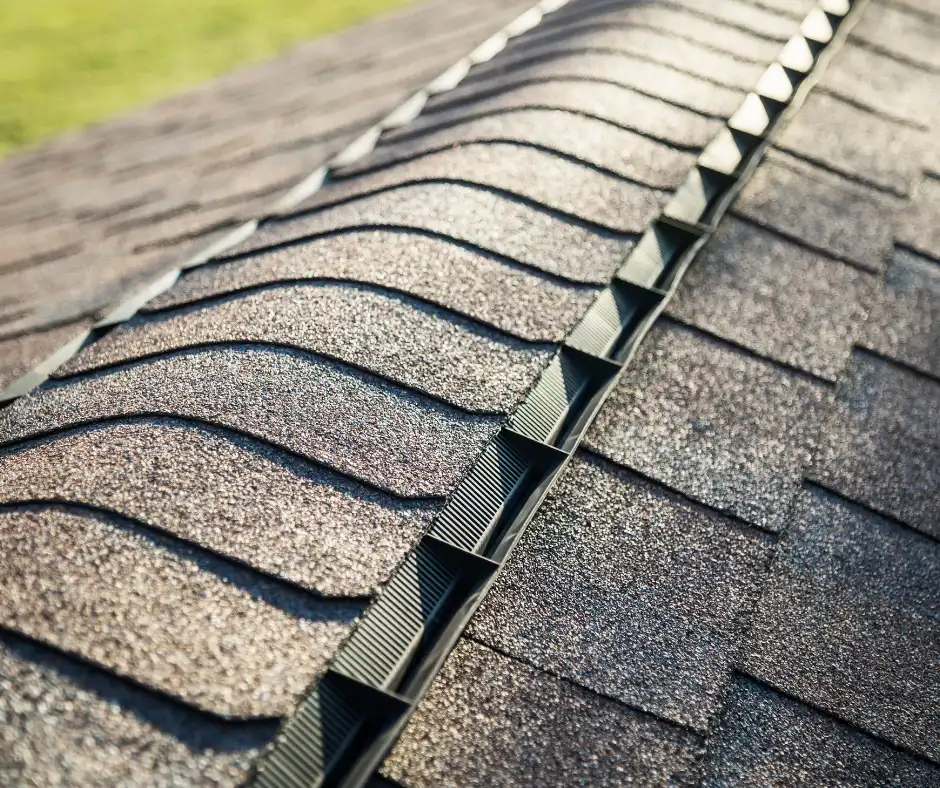
As you wrap up your ridge cap installation, take a moment to admire your handiwork.
You’ve just added a crucial finishing touch to your Winnipeg home, protecting it from our harsh Manitoba winters. Remember, a properly installed ridge cap not only looks great but also extends the life of your entire roof.
By following these steps, you’ve saved money on professional installation and gained valuable DIY skills.
Next time you’re relaxing at The Forks or cheering on the Jets, you can do so with peace of mind, knowing your roof is secure. So pat yourself on the back – you’ve mastered an essential home improvement task that will serve you well for years to come.
Don’t Risk It: Let All Weather Exteriors Handle Your Ridge Cap Installation
If you’re unsure about tackling a DIY ridge cap installation or simply want to ensure it’s done right the first time, All Weather Exteriors is your go-to Winnipeg roofing company. With years of experience and a commitment to quality, we’ll expertly install your roof and its ridge cap, providing your home with the ultimate protection against Manitoba’s harsh weather.
Give us a call now!

Leave a Reply
You must be logged in to post a comment.