How to File an Insurance Claim When Your Roof Is Damaged: Step-By-Step 2025 Guide
There’s nothing more stressful than discovering your roof has been damaged by severe weather, a common occurrence in Winnipeg’s harsh climate. Whether you’re facing water leaks from spring storms or structural damage from heavy winter snow, knowing how to navigate the insurance claim process can save you time and money.
This comprehensive guide will walk you through filing your roof insurance claim, helping you get the coverage you deserve while protecting your home or business. Our team at All Weather Exteriors has helped countless Winnipeg property owners through this process, and we’ll share our expert insights to make your claim journey smoother.
Key Takeaways
- Acting quickly after roof damage is a game-changer. Contact All Weather Exteriors right away for a professional inspection, and notify your insurance company within 24-48 hours to strengthen your claim and prevent further damage to your Winnipeg home.
- Document everything thoroughly before cleanup begins. Take clear photos and videos of all damage from multiple angles, including interior water spots and fallen debris. This visual evidence will be your best friend when dealing with insurance adjusters.
- Keep all receipts and written records of temporary repairs, as most Winnipeg insurance policies cover these emergency measures. Having a trusted local contractor like All Weather Exteriors guide you through the process makes filing your claim much smoother.
Assessing the Damage: The First Step to Successful Claims
Your roof’s condition directly impacts the entire structural integrity of your home, making proper damage assessment absolutely vital for an accurate insurance claim. The assessment phase sets the foundation for your whole claims process and helps determine the compensation you’ll receive for repairs or replacement.
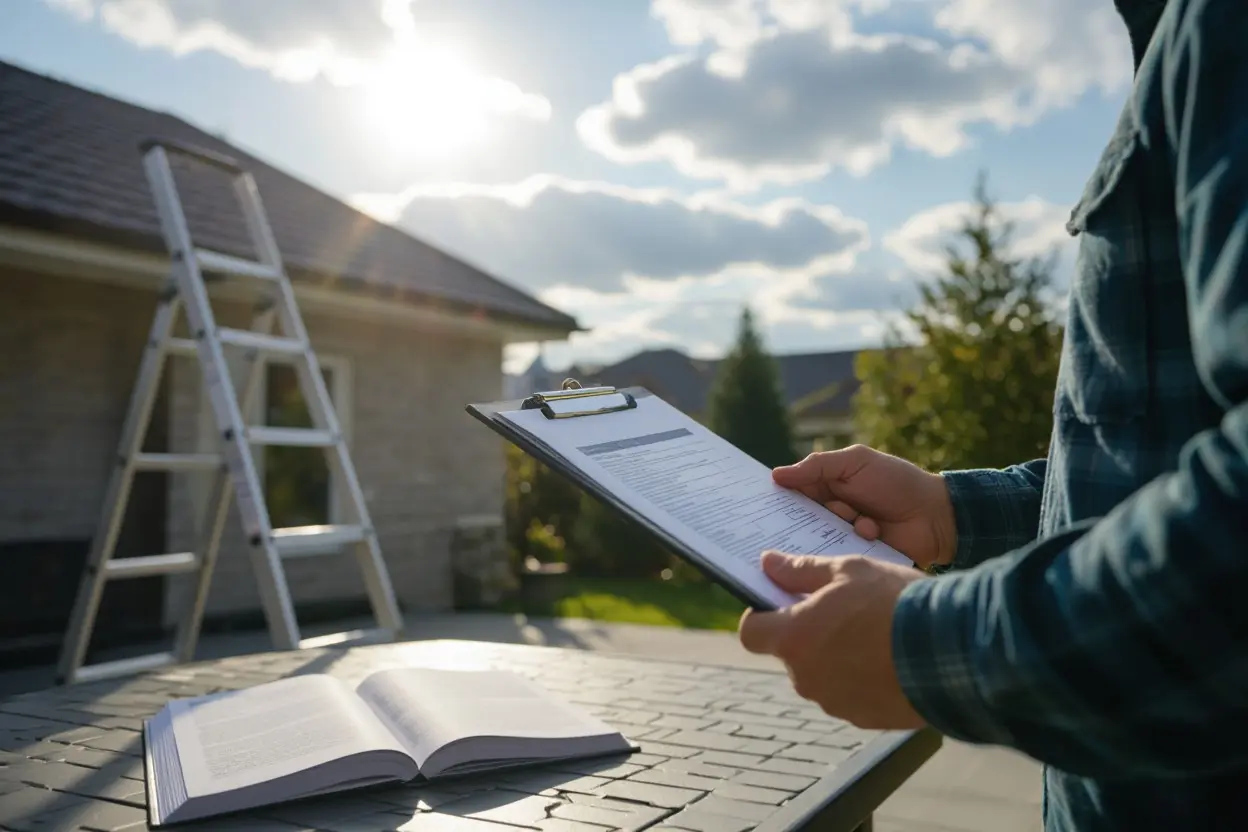
Visual Inspection To Identify Major Issues
Start your assessment by scanning your roof from ground level using binoculars to spot obvious damage like missing shingles, dented vents, or sagging sections. Look for granules from asphalt shingles in your gutters and downspouts, as excessive granule loss indicates aging or storm damage that insurance may cover.
For a thorough evaluation, All Weather Exteriors’ certified inspectors will safely access your roof to examine less visible issues like punctures, lifted shingles, or compromised flashing around chimneys and vents. Our experts know exactly what insurance adjusters look for and can identify all damage that qualifies for coverage under your policy.
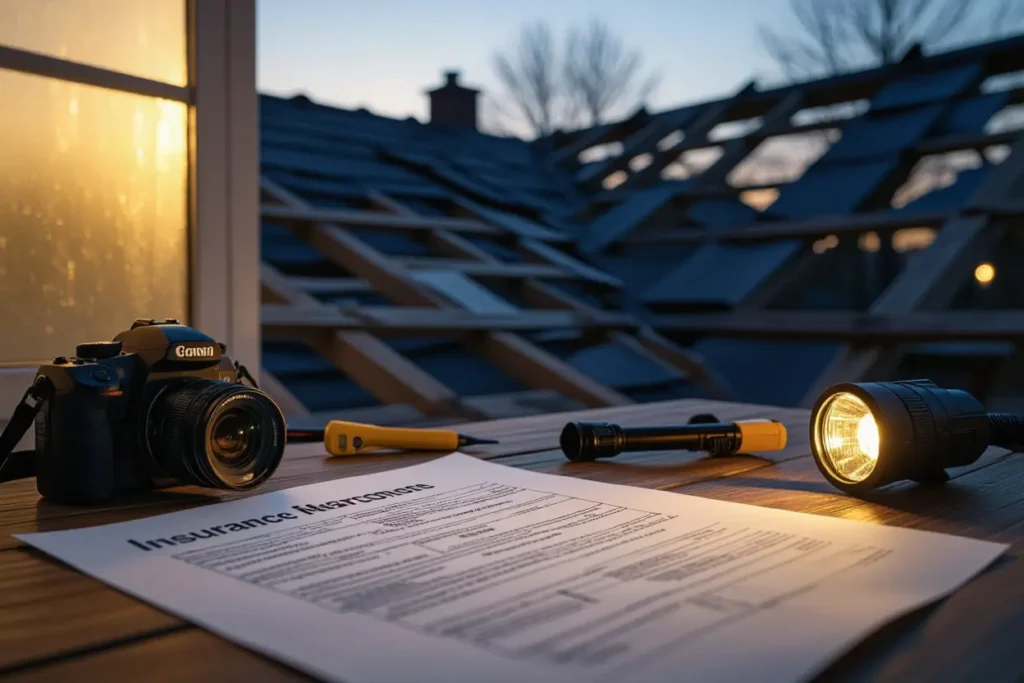
Documenting Damage Photos and Written Details
Take clear, well-lit photos of every damaged area from multiple angles, making sure to capture both close-up details and wider shots showing the damage location. Include photos of interior damage, like water stains or cracked ceilings, that resulted from the roof damage. Date-stamp your photos and organize them by location on your roof.
Create a detailed written inventory listing each type of damage you’ve found, including measurements where possible. Note specific details like “three-foot tear in shingles on south-facing slope” or “golf ball-sized hail impacts across entire western section.” This documentation proves invaluable when discussing your claim with insurance adjusters.
All Weather Exteriors provides comprehensive digital documentation packages that include aerial drone footage, thermal imaging scans, and detailed damage mapping. These professional-grade materials help expedite your claim by clearly demonstrating the full scope of damage to your insurance company using technology that meets their documentation standards.
Understanding Your Policy And Knowing What’s Covered
Your insurance policy contains specific sections detailing how roof damage claims are handled. Take time to locate and review the “dwelling coverage” or “structural damage” portions, as these directly impact your roof claim. Most policies in Winnipeg include provisions for damage from severe weather events like hailstorms, heavy snow, and wind – common challenges in our Manitoba climate.
Key Clauses to Locate
Your insurance policy contains specific sections detailing how roof damage claims are handled. Take time to locate and review the “dwelling coverage” or “structural damage” portions, as these directly impact your roof claim. Most policies in Winnipeg include provisions for damage from severe weather events like hailstorms, heavy snow, and wind – common challenges in our Manitoba climate.
Coverage Types and Limitations
Standard homeowners’ policies typically offer two main types of roof coverage: repair/replacement cost value (RCV) and actual cash value (ACV). RCV policies provide better protection since they cover the full cost of replacing your damaged roof with a new one of similar quality. ACV policies factor in depreciation, meaning you’ll receive less money for older roofs. Perceiving these differences early helps you make informed decisions during the claims process.
| Coverage Element | What to Look For |
| Weather Events | Hail, wind, and snow damage specifics |
| Age Limitations | Coverage reductions for roofs over 15 years |
| Material Types | Specific coverage for your roofing material |
| Maintenance Requirements | Required upkeep to maintain coverage |
| Exclusions | Non-covered scenarios and conditions |
- Check for specific weather event coverage
- Review age-related coverage limitations
- Verify maintenance requirements
- Identify excluded scenarios
- Confirm coverage for your roof type
Deductibles and Premium Implications
Your policy deductible directly affects your out-of-pocket expenses for roof repairs. Winnipeg homeowners typically face deductibles ranging from $500 to $2,500, though some policies have specific storm deductibles that may be higher. Filing a claim might impact your future premiums, particularly if you’ve made previous claims within the past three to five years.
Many insurance providers offer deductible flexibility, allowing you to adjust your coverage based on your financial situation. Higher deductibles generally mean lower monthly premiums, while lower deductibles increase your premium costs. Consider your roof’s age and condition when selecting your deductible level, as older roofs may require more frequent repairs.
The Initial Contact: Engaging Your Insurance Provider
Contact your insurance provider within 24-48 hours of discovering roof damage to initiate your claim. Most insurance companies have dedicated claims hotlines operating 24/7, allowing you to start the process immediately. During this first call, you’ll receive a claim number and information about your policy coverage specific to roof damage.
Your insurance representative will guide you through their specific claim requirements and schedule an adjuster to assess the damage. Take detailed notes during this conversation, including the names of representatives you speak with, the date and time of calls, and any specific instructions provided.
Preparing Your Case: Gathering Necessary Documents
Compile a comprehensive documentation package that includes your policy number, recent photos of the roof damage, maintenance records, and any previous repair invoices. Take multiple photos from different angles, capturing both close-up details and wide shots of the affected areas. Your smartphone’s timestamp feature can help establish when the damage occurred.
Create a detailed inventory of all damaged items, including interior damage if water has penetrated your home. Save receipts for any emergency repairs or temporary solutions you’ve implemented to prevent further damage. These expenses may be reimbursable under your policy.
Effective Communication: Tips for Speaking with Adjusters
Approach conversations with adjusters professionally and prepare your key points in advance. Keep a log of all communications, including dates, times, and summaries of discussions. Request written confirmation of any verbal agreements or promises made during your conversations.
- Stick to facts and avoid emotional language
- Have your documentation readily available during calls
- Take notes during every conversation
- Request clarification on technical terms
Professional adjusters appreciate clear, organized communication and thorough documentation. Focus on presenting your case objectively, using photos and documentation to support your claims. Maintain copies of all correspondence and follow up on any promised actions or timelines.
- Follow up emails to confirm verbal discussions
- Keep track of promised deadlines
- Document any missed appointments
- Save all written communications
After completing these steps, you’ll be well-positioned to move forward with your claim and work effectively with your insurance adjuster to reach a fair settlement.
Navigating the Claims Process Step-By-Step Guidance
| Document Collection | Photos, videos, estimates, receipts |
| Timeline Management | 48-72 hours for initial contact |
| Communication Method | Phone, online portal, mobile app |
| Required Information | Policy number, damage details, date of incident |
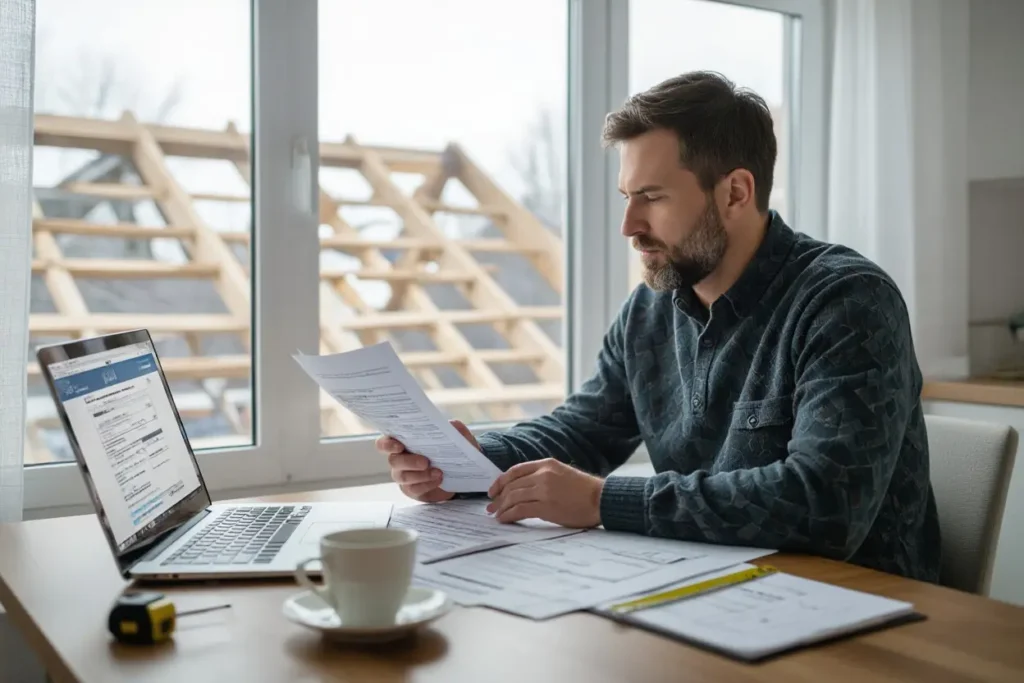
Filing the Claim: Filling Out Forms and Online Submissions
Most insurance companies now offer streamlined digital claim submission processes through their websites or mobile apps. You’ll need to provide detailed information about your roof damage, including the date of discovery, suspected cause, and preliminary repair estimates. The online forms typically include sections for uploading photos and videos of the damage, which significantly speeds up the assessment process.
Your insurance provider’s online portal will guide you through each required field, but having your policy number, property details, and damage documentation ready beforehand makes the process smoother. Manitoba insurance companies typically require submission within 30 days of discovering the damage, so organizing your materials promptly helps ensure you meet all deadlines.
Following Up: Managing Timelines and Expectations
After submitting your claim, most Winnipeg insurance providers aim to respond within 2-3 business days. During winter months or after major storms, response times might extend to 5-7 days due to higher claim volumes. Keep a log of all communication with your insurance company, including dates, names, and key discussion points. This documentation proves invaluable if questions arise about your claim’s progress.
Many insurance companies provide online claim tracking systems where you can monitor your claim’s status in real-time. These platforms often include estimated completion timelines and direct messaging features to communicate with your assigned claims adjuster. Setting calendar reminders for follow-up calls every 3-4 days helps maintain momentum on your claim while demonstrating your active engagement in the process.
Local Winnipeg regulations require insurance companies to make final claim decisions within 30 days of receiving all necessary documentation. If your claim seems stalled, requesting a supervisor review or escalating through your insurance company’s formal appeals process can help move things forward. The Manitoba Insurance Council can also provide guidance if you encounter significant delays or disputes.
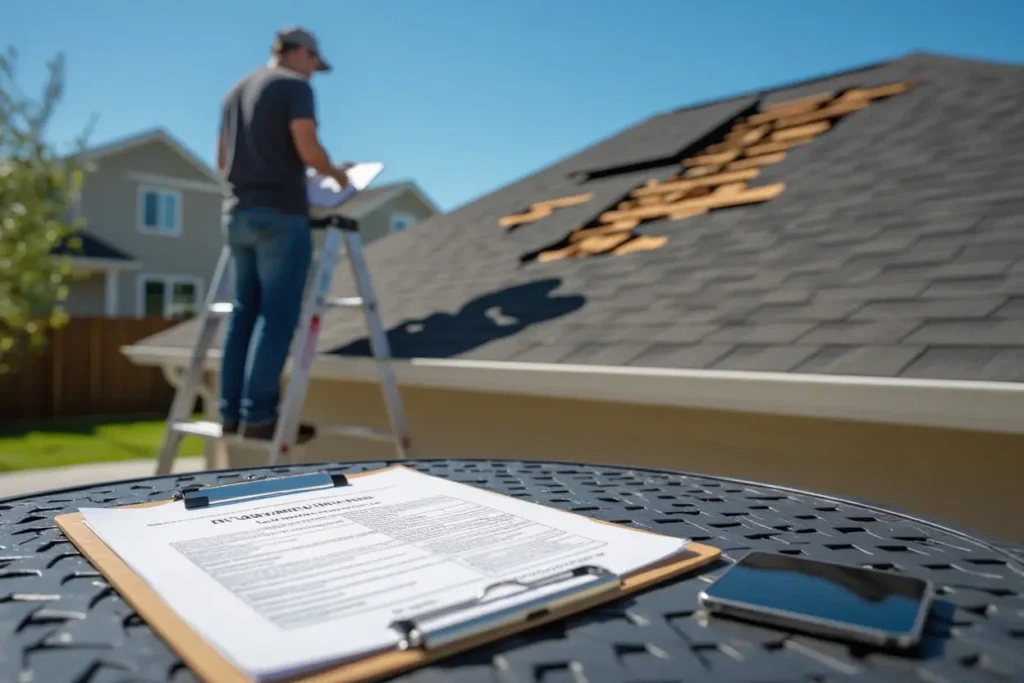
The Adjuster’s Role: What to Expect During Inspection
Insurance adjusters serve as the primary evaluators of your roof damage claim, thoroughly examining the extent of the damage and determining coverage based on your policy terms. These professionals arrive equipped with specialized tools and knowledge to assess various types of roof damage, from wind-lifted shingles to hail impacts, documenting everything that will affect your claim’s outcome.
Preparing for the Adjuster’s Visit
Before the adjuster arrives at your Winnipeg property, gather all your documentation, including photos, videos, and any emergency repair receipts. Having your All Weather Exteriors inspection report ready will provide professional backing to your claim. Clear access to your roof by moving vehicles and outdoor furniture, and ensure your attic is accessible for interior damage assessment.
Make a detailed list of all damage points you’ve noticed, including any interior water spots or leaks. This helps guide the adjuster’s inspection and ensures nothing gets overlooked. If possible, have your All Weather Exteriors representative present during the inspection to provide expert input and answer technical questions about your roof’s condition.
Understanding the Adjuster’s Findings
The adjuster will provide a detailed report outlining damaged areas, recommended repairs, and estimated costs. This document breaks down materials, labor, and any depreciation factors that might affect your settlement. You’ll receive an itemized list of covered damages and explanations for any items deemed not covered under your policy.
Review the adjuster’s findings carefully, comparing them with your All Weather Exteriors inspection report. Adjusters typically take 24-48 hours to submit their final report, after which you’ll receive a settlement offer. If you spot discrepancies between the adjuster’s assessment and your contractor’s evaluation, document these differences specifically.
Many Winnipeg homeowners successfully negotiate better settlements by providing additional documentation and getting second opinions. Your All Weather Exteriors team can help identify any overlooked damage points and provide supporting evidence for your claim appeal if needed. The initial settlement offer isn’t always final, and you have the right to dispute findings that don’t align with professional assessments.
Overcoming Obstacles: What to Do If Your Claim is Denied
Reasons for Denial Common Pitfalls to Avoid
Insurance companies may deny roof damage claims for several specific reasons that you can proactively address. Lack of proper maintenance documentation stands as one of the most frequent causes for denial, so maintaining detailed records of all roof inspections and repairs becomes your first line of defense. Another common pitfall occurs when the damage falls under policy exclusions, such as wear and tear or damage that existed before your coverage began.
Missing the filing deadline or providing incomplete documentation can also lead to claim denials. Your insurance company typically requires notification within 24-72 hours of discovering the damage, along with clear photos, detailed descriptions, and professional assessments. Claims often get rejected when homeowners fail to distinguish between pre-existing damage and new storm damage, so working with a qualified Winnipeg roofing inspector helps create this vital documentation.
Appeal Process: How to Challenge a Claim Denial
Starting your appeal begins with requesting a detailed explanation of the denial in writing from your insurance company. Review your policy carefully and gather additional evidence to support your claim, including independent assessments from licensed Winnipeg roofing contractors, weather reports from the date of damage, and any supplementary photos or documentation not included in your initial claim.
Submit your formal appeal in writing, addressing each reason for denial with specific evidence and documentation. Many Manitoba insurance providers have a structured appeals process with multiple levels of review. Your appeal should include recent inspection reports, contractor estimates, and if possible, opinions from public adjusters who can provide an unbiased assessment of your damage.
Throughout the appeal process, maintain detailed records of all communications with your insurance company, including dates, names, and summaries of conversations. Consider seeking legal counsel specializing in insurance claims if your appeal reaches an impasse. Many Winnipeg homeowners successfully overturn claim denials by presenting well-documented appeals that clearly demonstrate covered damage under their policy terms.
Follow-Up Strategies Ensuring a Smooth Claim Process
Communicating Effectively with Your Insurer
Keep detailed records of every interaction with your insurance company, including dates, times, and names of representatives you speak with. Create a dedicated folder or digital document to store photos, estimates, correspondence, and any paperwork related to your claim. This organized approach helps you quickly reference information when needed and strengthens your position during claim negotiations.
Send follow-up emails after phone conversations to confirm what was discussed and agreed upon. Request written confirmations for any verbal approvals or decisions made about your claim. Many Winnipeg homeowners find that maintaining a paper trail helps prevent misunderstandings and speeds up the claims process, especially during busy storm seasons when insurance companies handle multiple claims simultaneously.
Knowing Your Rights and Next Steps
As a Manitoba policyholder, you have specific rights during the claims process, including the right to choose your own roofing contractor and the right to appeal claim decisions. Review your policy carefully and note key deadlines for submitting documentation. The Manitoba Insurance Act provides you with up to two years to dispute a claim decision, though addressing concerns promptly typically yields better results.
If your claim faces delays or denials, you can escalate the matter through your insurance company’s internal appeals process. Contact the Manitoba Insurance Council for guidance if you encounter significant roadblocks. Local Winnipeg roofing experts often assist homeowners in documenting damage properly and can provide professional opinions that support your claim.
Consider hiring a public adjuster if your claim involves substantial damage or if you’re facing persistent challenges with your insurance company. These licensed professionals work on your behalf to negotiate with insurance companies and can significantly increase your chances of a fair settlement. Many Winnipeg residents who’ve dealt with complex claims report that public adjusters helped them secure 20-30% higher settlements compared to handling claims independently.
FAQs on How To File An Insurance Claim When the Roof Is Damaged
What should I do immediately after discovering roof damage to protect my insurance claim?
Take clear photos and videos of all visible damage right away, both from the ground and safely accessible angles. Document the date and time of the damage, especially if it was caused by a specific storm. Make temporary repairs if needed to prevent further damage, but keep all receipts and photograph the temporary fixes. Don’t wait to contact your insurance company, as many policies have time limits for filing claims. At All Weather Exteriors, we often help Winnipeg homeowners gather proper documentation before they contact their insurance provider.
How long does the roof insurance claim process typically take in Winnipeg?
Most straightforward roof insurance claims in Winnipeg take about 2-4 weeks from start to finish. However, during busy storm seasons or with complex claims, it can extend to 6-8 weeks. The timeline includes the initial inspection, adjuster visit, approval process, and repair work. Working with an experienced local contractor like All Weather Exteriors can help speed things up, as we’re familiar with local insurance companies’ requirements and can help navigate the process more efficiently.
Should I get a professional roof inspection before filing an insurance claim?
Yes, getting a professional inspection from a trusted Winnipeg roofing contractor is a smart first step. At All Weather Exteriors, we provide thorough inspections that can identify all damage, including hidden issues that might not be visible from the ground. This detailed assessment helps ensure your claim includes all necessary repairs and strengthens your case with the insurance company. Plus, if we find the damage isn’t significant enough to warrant a claim, we can help you avoid filing one that might unnecessarily raise your premiums.
Filing an Insurance Claim is not overwhelming when done right.
With this in mind, filing an insurance claim for your damaged roof doesn’t have to be overwhelming when you follow these systematic steps. By documenting the damage thoroughly, contacting your insurance provider promptly, and working with a trusted roofing contractor like All Weather Exteriors, you can navigate the claims process smoothly and get your roof repaired or replaced with minimal stress.
Your role in the process is to stay proactive and maintain clear communication with all parties involved. Should you need assistance during any stage of your roofing insurance claim in Winnipeg, All Weather Exteriors is here to support you with professional documentation, detailed assessments, and expert repairs that meet your insurance company’s requirements. Taking action now will help protect your home and prevent further damage down the line.
Editor’s Note: This post was originally published on June 25, 2019. The last update was made on September 18, 2025, to reflect new information and insights.
Leave a Reply
You must be logged in to post a comment.